
Creating cat comics
A peek at the drawing process, plus a cat pic

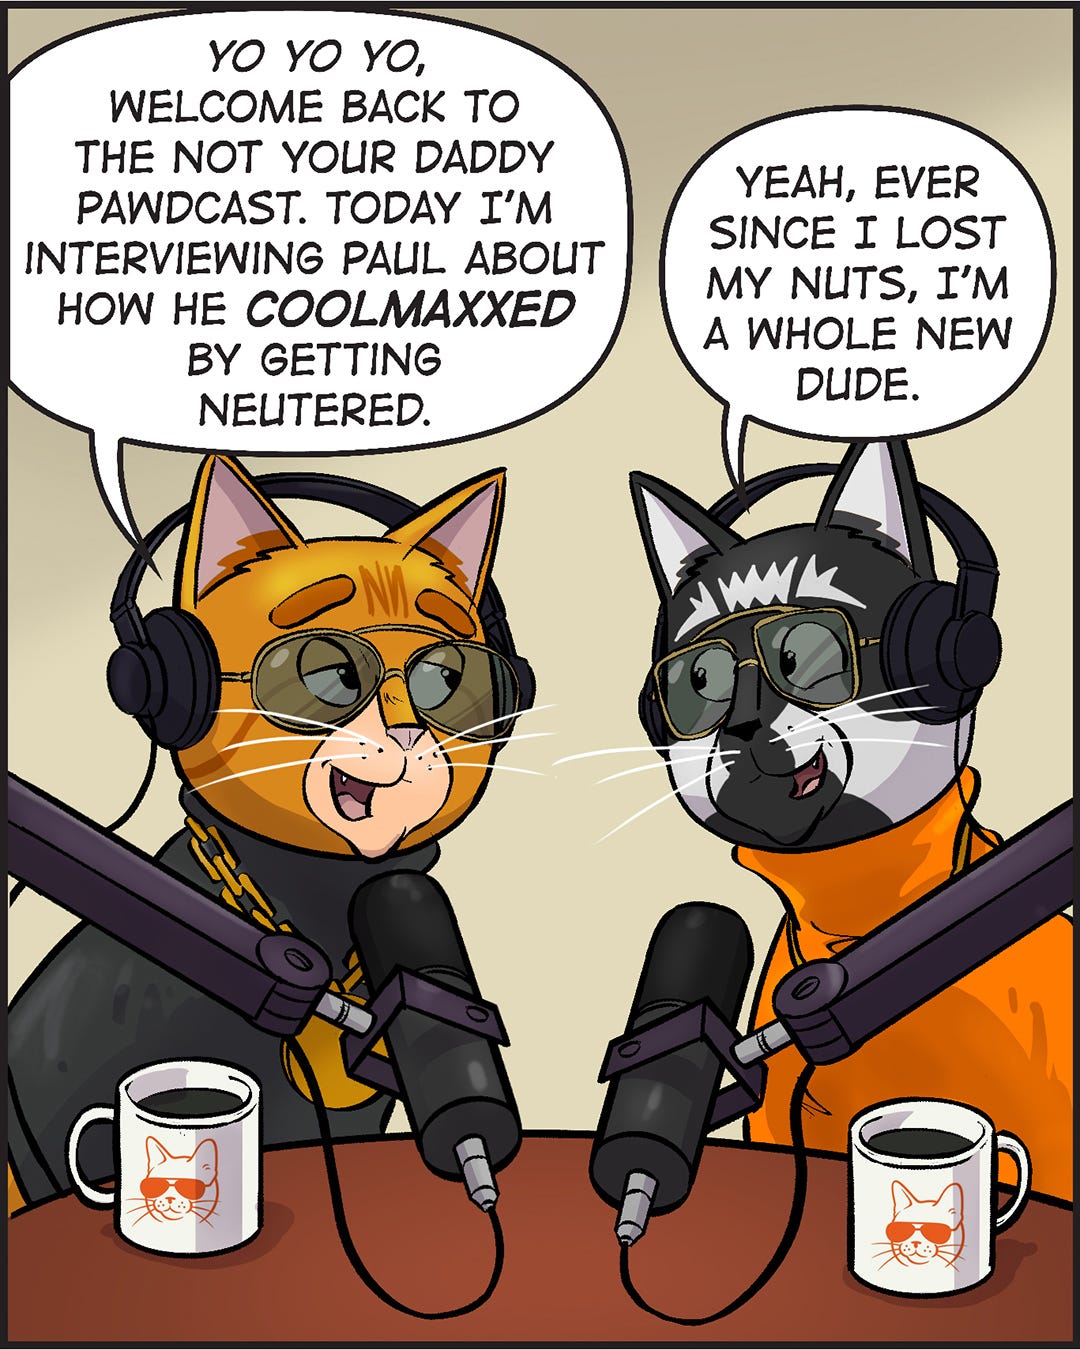
I’m a day late promoting this, but my latest Scooter the Neutered Cat comic was released on Sunday over at Scooter’s Instagram page. Click here and take a second to check it out.
It was just about a year ago when I met with some of the folks who bring Scooter’s adventures to life for the Give Them Ten movement. They’d invited me to lunch to blue sky some ideas on how to expand Scooter’s social media content. We decided to test the waters with monthly Instagram comics. It took a few months to get things up and running, but here we are, with six comics published and a seventh on the drawing board.
I’ve said before how much I enjoy drawing these little comics. As a grizzled, cynical editorial cartoonist, drawing comics that advocate spaying and neutering cats was not on my bingo card. But they’re now a highlight of my month.
Drawing comics is hard work. Regardless of whether you’re drawing photorealistic superheroes or simple, minimalist characters, comics aren’t for the faint of heart. They take time, energy, planning, elbow grease and sweat to create. And coffee. Lots of coffee.
Some comics are created by a team. Look at the credits page of any comic book or graphic novel and you’ll see some combination of penciller, inker, colorist, letterer, writer, editor … and maybe a layout artist, graphic designer, background artist and more. Other comics are created by one or two people. The Scooter comics are written by Clara Malson, and I handle all the art. Below is my process on creating a Scooter the Neutered Cat comic.
Script and breakdown
Clara will send me a script, and the first thing I do is print the script out. I usually sit on my studio floor and start doodling thumbnail sketches right on the print out. I’d planned on scanning in the most recent script with all of my thumbnails … but my kitten, Calliope, thought the script would look better ripped to shreds. Everyone’s a critic.


Basic layout and lettering
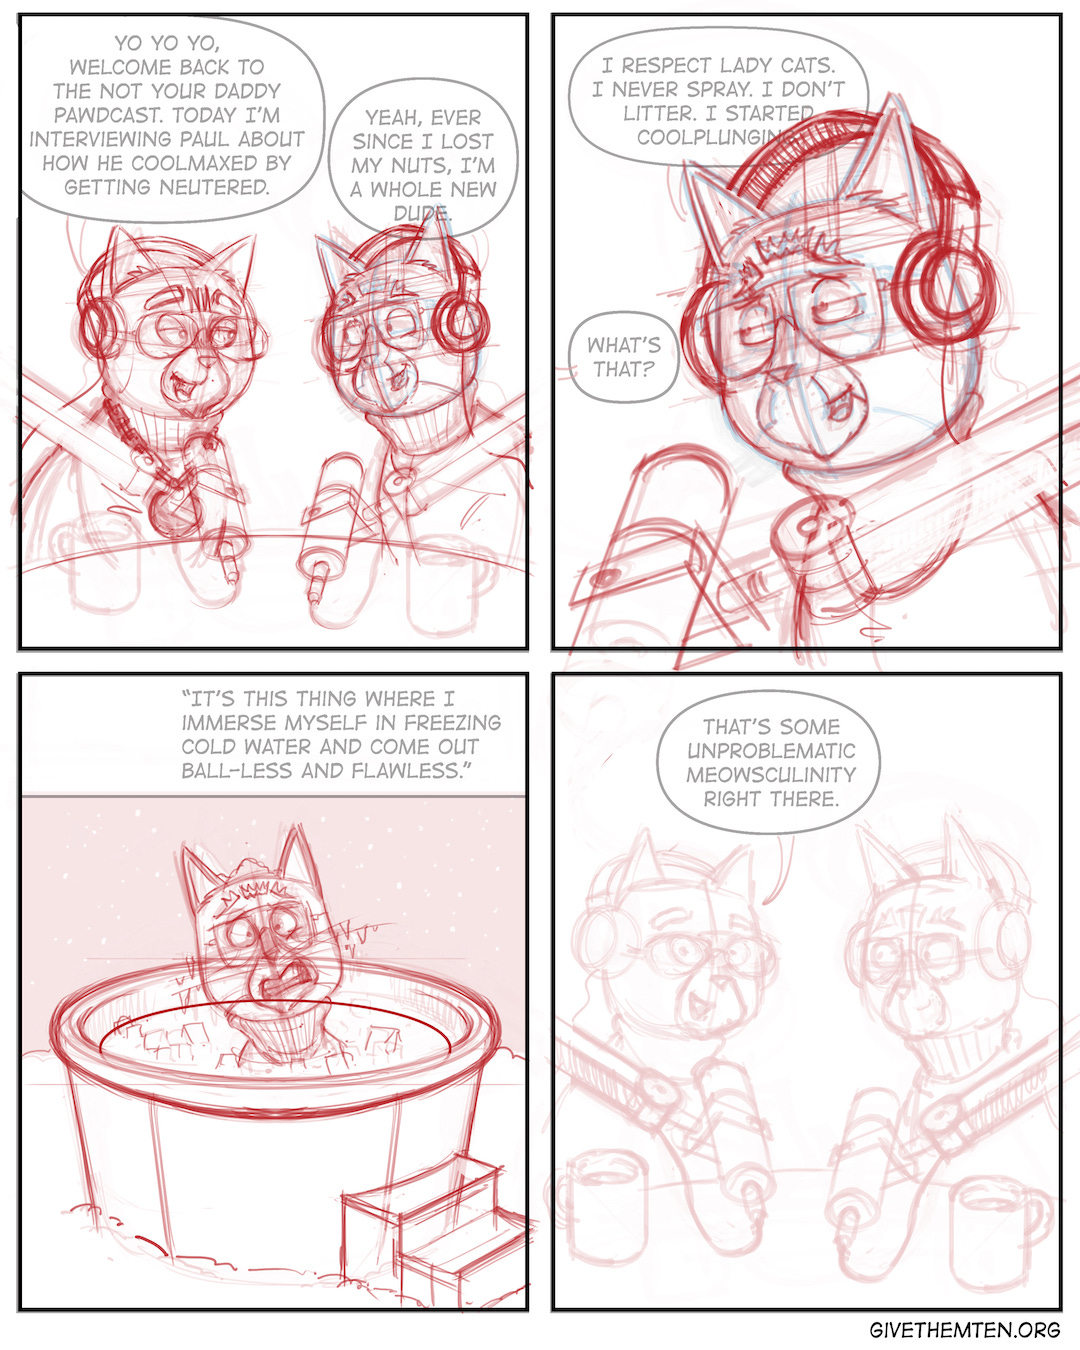
After coming up with my thumbnails, I move on to a rough layout, which I sketch out in Photoshop. I keep these very basic, and try to limit myself to simple shapes and blobs. This stage helps me hone in on the overall composition, and I use it as a backdrop to do my lettering. I’ll export the rough layout to Adobe Illustrator, which is what I use for the lettering and the dialog balloons.
I’ve never felt like I’ve gotten the hang of lettering, unlike my buddy Tim who is a master at lettering. But I muddle through, using the rough layout as a guide to place the dialog balloons.
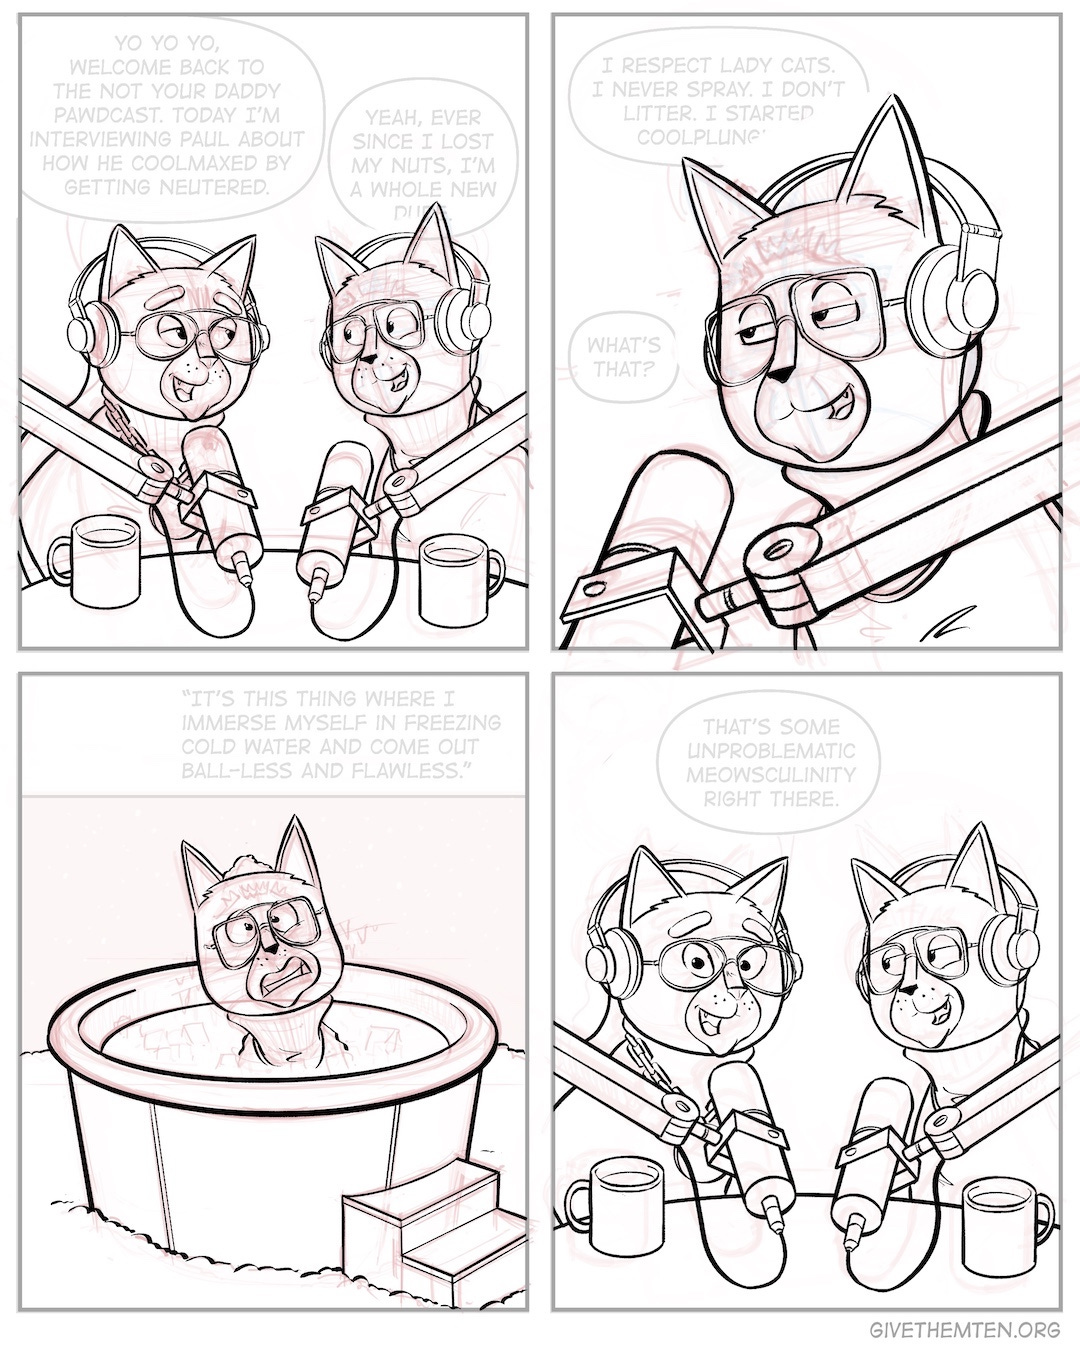
Pencilling
The text in place, I’ll tighten up the rough sketch and send it back to Clara and others for approval. Once I’ve made any requested revisions, I tighten up the sketch. This step is still called “pencilling,” even though these days it doesn’t matter if you’re sketching with actual pencils or pixels on a tablet. Some cartoonists can work off loose pencils. I’m not one of those artists. I need to have a very tight sketch as a basis for the next stage.
Inking
This is my favorite part of the process. I import my tight sketch into an iPad drawing app called Procreate and draw over the image with bold black lines to give the comic that cartoon feel. Notice I didn’t say “trace.” I’m still drawing and still creating at this stage. But unlike the layout and pencilling stages, where I have to fight for every shape and line, inking is a breeze. I know where the drawing is going, and I don’t have to sweat creating new shapes or figuring out perspective. To quote actor Avery Brooks, with inking I just “glide. Dig?”


Flatting, colors, and render
If inking is my favorite part, flatting is the exact opposite. “Flatting” is the process where a colorist creates flat areas of color that can easily be selected in a drawing program such as Photoshop or Procreate, which allows the colorist to isolate a character or background and digitally paint on top. Many colorists hire assistants to flat their comics, because the process is so … damn … tedious. Colorists will often use colors close to the final, rendered colors when flatting. I’m weird, and instead use garish colors with my flats. It’s a quirk, but one that works best with my ADHD brain. The greens and magentas and yellows actually helps me keep everything organized and siloed as I’m doing the final coloring.
I color the comic in Photoshop. I can quickly select each flat color, fill in that selection with the correct color in another Photoshop layer, and then add shadows, lighting, and any other special touches. I typically don’t go overboard with my rendering — that is, adding shadows and lighting — but I try to at least add enough depth and dimension so the comic doesn’t look flat. I’ll often do a few of passes at shadows and add in reflected light, and add in some basic highlights to give it a bit of pop.
And there you have it. Each comic takes anywhere from three to five days total to finish, though with my other work I’ll often spread it out over the course of a few weeks. (Hey, look, I’m learning how to schedule and manage my time!)
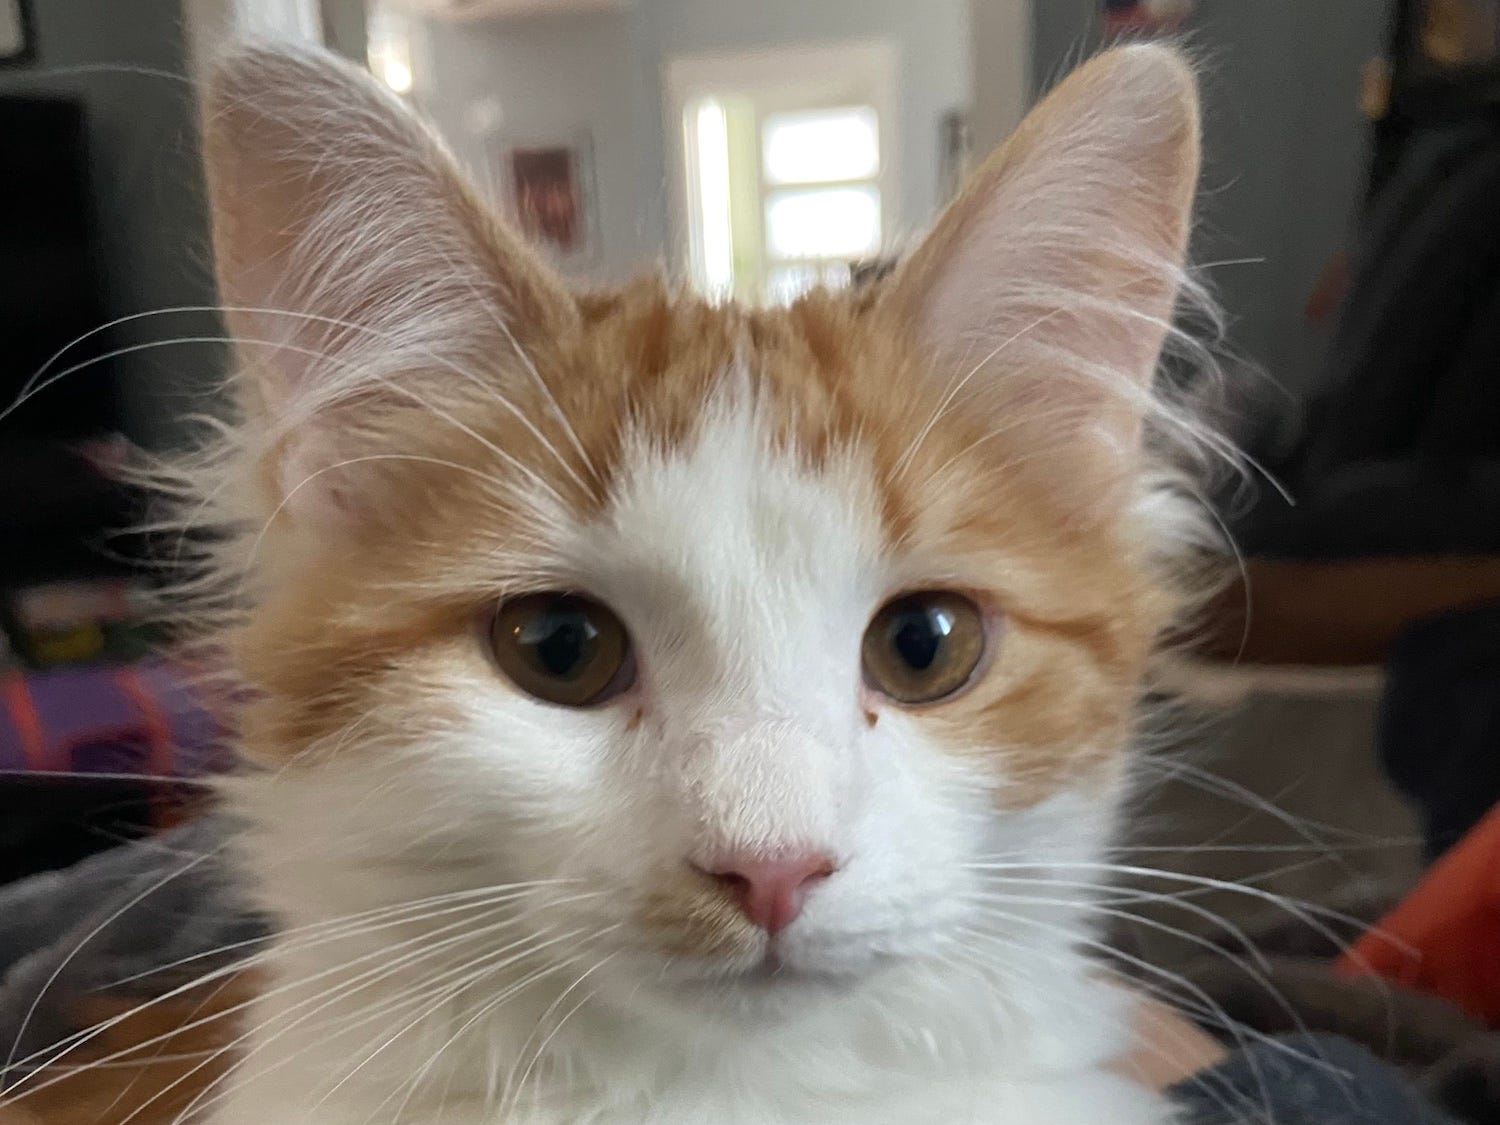
Cat pic
Speaking of spaying and neutering, little Callie, who’s not so little anymore, is going in for her surgery Tuesday morning. I think Bonnie is going to enjoy having the house to herself for a day or so.
Help me keep the lights on and the cartoons flowing. Consider becoming a paid subscriber to Kevin’s UnNecessary Things. Your support allows me to draw more cartoons and speak truth to power. You can also support me by leaving me a one-time tip on Ko-fi, or by clicking here to visit my Etsy store, where you can purchase signed prints of my cartoons.
Delightful post, art & photo, Kevin. I just finished Agnes Aubert's Mystical Cat Shelter. It has quite a cover. It's by LOLLOCO, which I'm hoping is not AI.
I love you, Kevin. That’s hilarious. 😆